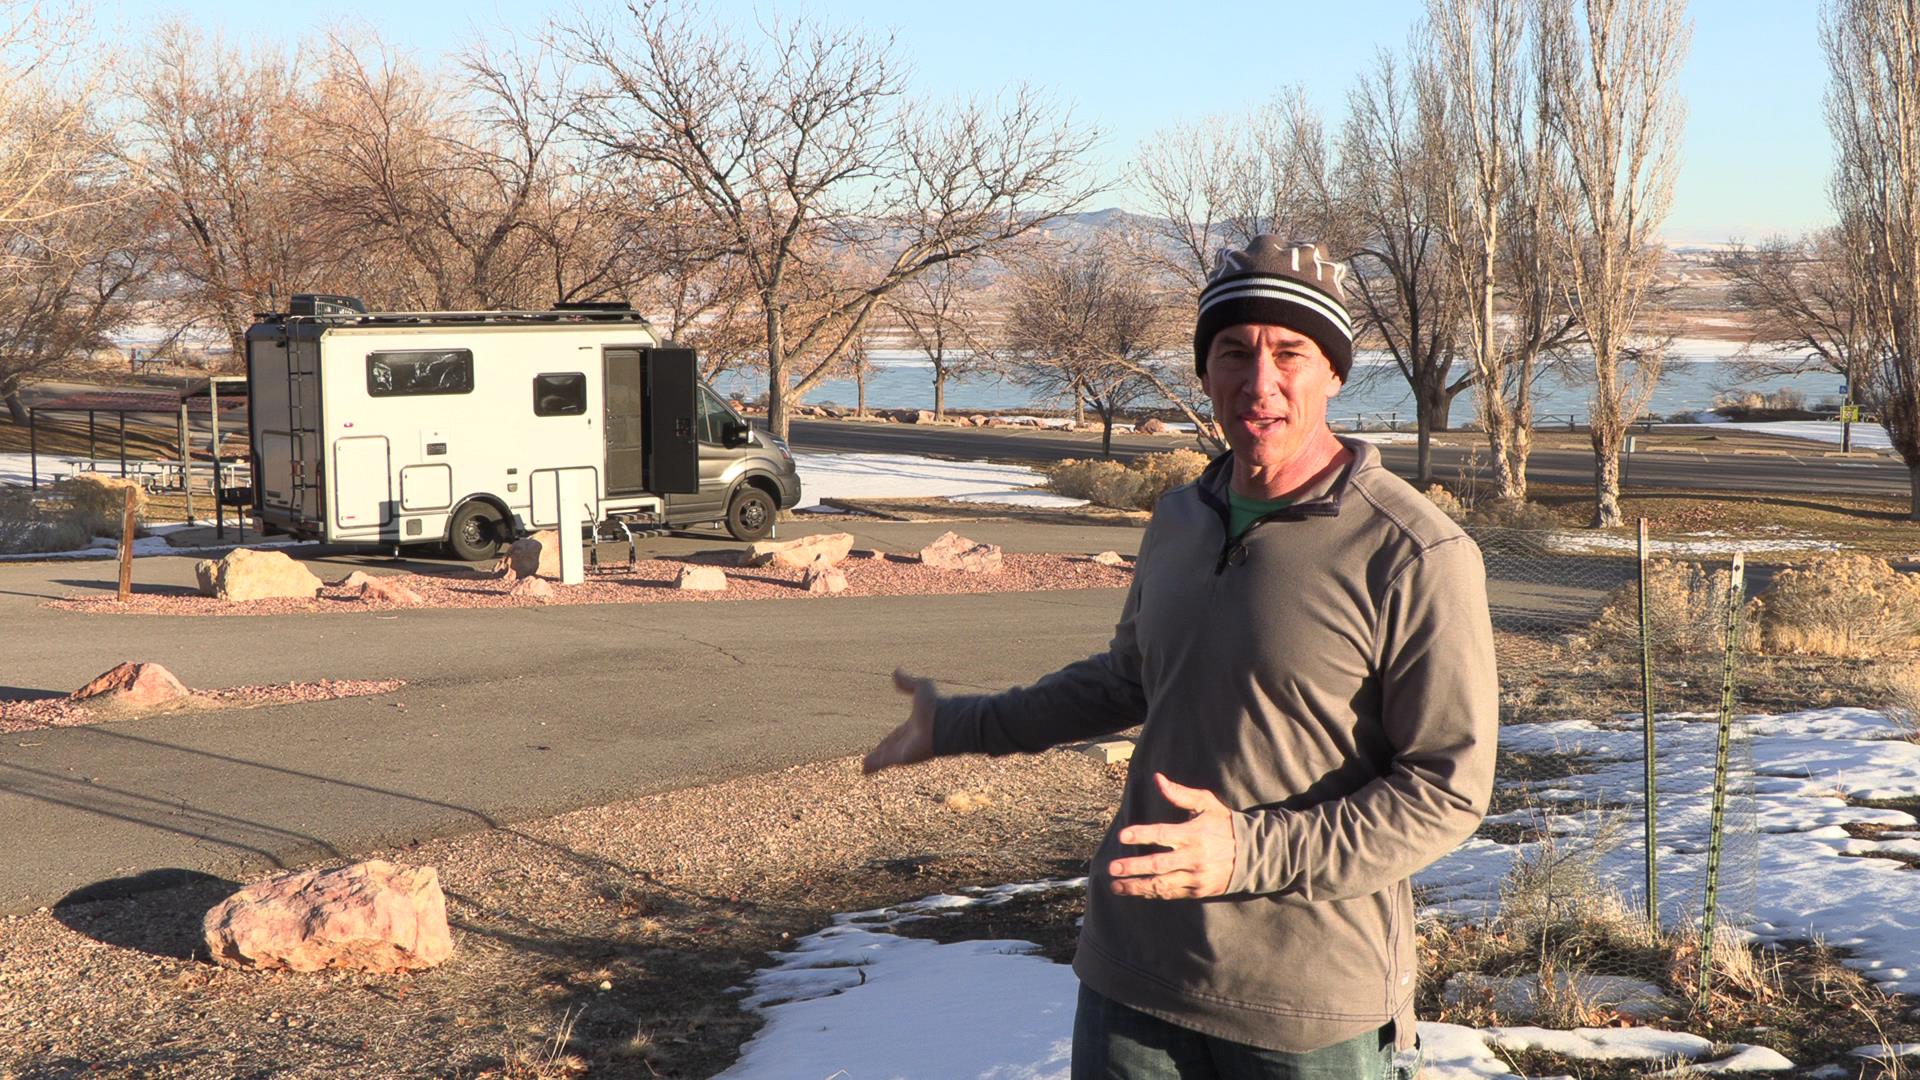
Admittedly, this particular problem is specific to our Winnebago EKKO. But even if you don’t have an EKKO, there may be an idea here you can use, so check out this video for our latest winter RVing mod!
The EKKO is a winter RVing rockstar, but even rockstars can still have room for improvement. After our first winter RVing in Number One, we had identified a couple opportunities to improve. The first was “bring a shovel.” But a close second was to do something to remediate the EKKO “Bed Chiller” along the driver’s side bed.
You see, there’s a metal reinforcement for mounting the batwing awning that runs along the bed, and even if you don’t get the batwing, the awning support is built into the wall. During the summer, it’s not really a problem, but during the winter, that metal awning support can get quite cold! When you’re sleeping next to it, it’s a problem. (A kind of whiny problem, but still a problem.) Sure, you could always sleep in sweats, but the bigger issue was that it got cold enough to accumulate condensation on the coldest nights.
Well after kicking ideas around my head for a while, I came up with the idea to add a heated mattress pad to the bed. But an oversized mattress pad that drapes over the mattress and presses up against the wall. The idea was that the mattress pad would slowly and gently heat up the wall (and the bed chiller), and prevent the cold and the condensation we had experienced.
The Solution
The mattress pad I used was this one that I got from Amazon. It’s from a company called “Reaks” that I had never heard of before, but who could really use a consultant to help them come up with a brand name. Name aside, the mattress pad got good enough reviews and had the relevant safety certifications, so I got it. (The safety certifications were important, because I was going to cut into it, so I wanted something that was as safe as possible to begin with.
Most heated mattress pads don’t heat all the way to the edges, and this was no exception. So I got a “Full” sized mattress pad instead of a twin. There was about 8 inches on each side of the pad where there were no heating elements, so when you deduct 16 inches from the width, it came out about right.
It was pretty easy to cut the excess off each side of the mattress pad and then sew some binding on it so that it wouldn’t unravel. It would have been a lot easier if I could sew worth a damn. (I like to blame the machine, but let’s face it – it’s probably me…) I also sewed some nylon straps onto the reduced mattress pad so that I could secure it in place with some “sheet tightener straps“.
How Did It Do?
After our field test, I’m calling this project a success.
While the wall didn’t actually become what I’d call “warm”, it was much more comfortable than it was without the mattress pad. It did warm up a little bit, and it’s not something I notice when the mattress pad is on.
Also – HEATED MATTRESS PADS ARE NICE! I had never had one before, and I was really underestimating how super cozy it is to get into a warm bed when it’s cold outside. Just… wow.
But most importantly, we experienced no condensation behind the bed. At all. None. And while I’d eventually stop complaining about a cold wall, trapping soggy moisture behind the mattress really isn’t a good long-term plan.
All in all, for only 70 bucks or so (it seems they’ve gone up a bit since Christmas), I’d say this was a worthwhile project. And if you’ve never had a heated mattress pad before… don’t sell it short!
Happy Winter RVing, everyone!


Hi James, are you anticipating more condensation to be created if the awning is installed versus not eventhough the metal plate is in place in all cases?
Nah. I don’t think the awning itself would make the condensation problem any better or worse.
Hello James/Stephanie,
We are big fans of your content. Additionally we are home owners in St George so it’s fun to watch you enjoying the Southern UT surroundings.
We find ourselves in a situation that you might help. We rented our homes in SGU to go full time for 2 years. That was 6 years ago. Homes still rented out.
Adult son in Oregon has been diagnosed with terminal illness and we purchased a small B Plus to enable quick trips to support family.
Super miserable mattresses (twin beds). I know you experimented with slats and such. Can we ask what mattress you ended up choosing?
Thank you so much.
Wade and Debi
Ultimately I went with a mattress from mattressinsider.com. (we have no affiliation)
They can make something to a custom size (with odd angles, etc.) and can even customize firmness for you.
You can order online, but they can be quite helpful if you call them.
Hey James, I really like this idea, but my husband, who sleeps on the bed chiller side, is a hot sleeper, so I have been searching for a heating pad that could just warm the wall and not have to cover the mattress at all. I was just looking at heated outdoor walkway mats (Vevor is one brand), which come in long, narrow sizes. Have you looked at these? In your opinion would their be safety drawbacks to using them to warm the bed chiller wall in an EKKO? Maybe my husband and I just need to switch beds because I wouldn’t mind a heated mattress pad under me.
I looked at a variety of products, including under-floor heating mats, etc. Eventually, I decided that I wanted to use something that was designed and had been tested to be safe underneath a sleeping human atop a mattress. We all have to make our own decisions about this and that’s just where I came down.
For your situation, obviously switching sides is one option. Or, if you wanted to keep the same sides, I would investigate a twin-sized heated mattress pad – the heated area in that would be rather small, and would perhaps only cover the side of the bed.
Wondering if Stefany is a little jealous of the mattress pad.
We use a larger dehumidifier that has a drain hose and works great with removing humidity and condensation here in south Mississippi year round. Love my heated mattress pad in the winter time.
Love your videos and your shop is amazing.
Our humidifier does remove moisture when we’ve tried it. (I know, because we don’t use a drain hose, so I have to keep emptying it!)
It just doesn’t seem to remove enough moisture to keep the cab windows dry, which is our main problem.
Living out west, we have considerably less humidity to deal with than you do down in MS!
I don’t own an RV, I just like watching you solve problems. So, not knowing the wall construction, I have what may be a dumb question:
If you heat the interior wall surface, doesn’t that potentially just relocate the dew point location to somewhere inside the middle of the wall assembly, perhaps right on the steel itself?
I suppose it potentially could, but I don’t know how the moist interior air would get to the inside surface of the walls. The whole surface is sealed over with a vinyl wallpaper, and then there’s a kind of plywood.
The support structure for the awning is actually a rectangular tube of aluminum. Even if it did somehow get wet inside the sealed wall structure, the engine will fall apart before the wall structure corrodes enough to be a problem.
What I have thought might happen is that the heat could migrate to the outside surface of the wall. But other than the wasted energy, I can’t think of a negative consequence there.
Have you tried or considered using a small dehumidifier inside the RV to eliminate / reduce condensation?
Yes. We’ve tried that. And not exactly with a small dehumidifier either.
We used this one from Amazon.
The results were underwhelming on the cab windows – though the rest of the RV was fine.
As an aside – if you’re looking for an RV dehumidifier, STAY AWAY from anything that says “Peltier” or “Piezo”. Those are absolute worthless pieces of junk.
we loved our mattress warmer until I read the fine print when i was getting error mssages after using it for about a year. it says not for RV as the voltage is not right. it is wired for house Amp. not RV. could start a fire. and no placing the cords tucked I. sling the sheet or under the mattress
hard to find place for cords so not tripping over them ideas?
I have no qualms about running our heating pad in the RV. Most of the time, the voltage is more stable in our RV than in many houses (quality inverter). The blanket doesn’t know it’s in an RV. As long as the 120v supply is the correct voltage, and a stable frequency, there’s no issue.
As far as the cords, I installed some Command strip clips around the walls and run the cable inside them. It doesn’t get underneath the mattress.
On the cold winter nights I used to put up the Van Made shades in the cab as well as the thermal curtain in our Ekko. But I found that if I don’t put up the Van Made shades, most of the overnight moisture condenses on the cab windows instead of elsewhere in the van. It’s a lot of water to clean up in the morning, but I figure that it does the least harm up there in the cab. I suppose that I’m using a bit more propane that way.
That’s an interesting approach – accept the condensation and direct it where you’d prefer it.
Did you leave any kind of “catch basin” or anything on the dash? I always worry when mopping it up when I see how much water runs down behind the dash.
This has me wondering if it would be possible to build some kind of water channel at the base of the dash – with some drain tubing to direct the water outside…
Thinking….
If I think it’s going to be a bad night for the condensation, I’ll put a couple of microfiber rags along the bottom of the windshield. But most nights I don’t do anything.
In the case of a front windshield dehumidifier, I inadvertently used that approach with my ’78 van, not having any idea of what I was doing. And James is correct, the dash eventually rusted through.
This REALLY has me thinking there’s an opportunity for a product here…
When it’s cold out, there is plenty of dry air outside of the RV. What needs be found is a small countercurrent heat/air exchange. Something like this: https://www.ecomfort.com/Fantech-SH704/p31172.html?gclid=EAIaIQobChMI2trr__Si_AIVBojICh1A0Q6wEAQYCSABEgKqn_D_BwE, only at 12V.
Didn’t everything on ’78 vans eventually rust out?
I like your insulation idea better. What you need is a piece of Low-E-Insulation (used to be called EZ-Cool) so that moisture can’t get thru to the metal. We used it throughout our van build for all of the ribs and pillars of the van body that are immediately adjacent to walls/ceilings (main cavity insulation is thinsulite).
In your case you could just use 3M spray adhesive to glue it down. It’s sort of ugly, (unless you like that shiny airstream look), so you would still want to cover it with cloth or something, again using the same adhesive to attach.
I’ve used a similar product in the past – the one I used was called Pro-Dex.
Here’s the thing with the foil-faced insulation products… the foil doesn’t do anything to stop *conductive* heat transfer. The foil only works against radiant heat transfer – and it requires an air gap to even do that properly. So in contact applications, materials like pro-dex and EZ-kool basically have the insulation value of just that layer of foam, which is really small.
Way back when, one van-lifer slapped reflectix all over the inside of their van and took pictures of it and posted them on the internet. Other people saw that and thought it looked really cool, and started slapping reflectix all over anything they could see, and the myth took off. But in most applications where it’s sandwiched against other things, the foil backed products are not the best choice.
But if I were to insulate along the inside, using a spray adhesive is about the only way I would consider it – to keep air out of the gap. But the mess of the adhesives is something I did not want to deal with. Plus, I can simply remove the mattress pad in summer – insulation would be there year-round.
I agree with your comments on the foil. And, as I understand it, the foil has to be on the outside to get the reflective properties. But one about the foil is that it makes a better bond with what ever you attaching it to than if you were just to use foam. The foam attaches but seems to vibrate free. Another approach might be to use 1/4 or 5/8 mini cell, and allow the moisture in a little, but not all the way, as that stuff is porous but hydrophobic. Mini cell attaches quite well with spray glue.
In terms of “the insulation value of just that layer of foam, which is really small”, it’s not really insulation for the van, it’s insulation for that piece of metal which is near freezing, and are just trying to get the interior surface well above freezing.
As always great content and idea that I may use with our class c that has a corner bed with one side having the cold wall. We are in the PacNW so deal with a lot of condensation so this would at least help any issues from our mattress and pad against the wall. Thanks and Happy New Year!
We don’t usually RV to places that are very humid. Our issue would be much worse in the Pac NW.
I hope this works for you!
I guess I don’t understand why you felt you had to cut down the mattress pad. using a Bed Bungee, or a set of sheet suspenders like you had, It should be possible to position the heated portion of the mattress pad exactly as you wanted it and then just strap it down into place. this is what I do already with bedding that is too big for my current mattress.
I do like the fact that you chose to do this with a heated mattress pad and not a heated blanket. most heated blankets are not designed to be laid on top of, nor are they designed to be covered over with anything. heated mattress pads are designed for such use, and are a safer option, in my opinion, for such a purpose.
another thought that comes to mind: if you bought a mattress pad with dual zones, you could have one zone wrapping down around the side of your mattress and the other zone your main sleeping surface. this would let you adjust the temperature of your sleeping surface while still keeping the side warming the wall at a higher temperature to combat condensation.
I suppose I could have done that, but I just didn’t want all that extra material bunched up under there. Plus, with the extra cut away, it makes it easier to see where the heating elements are.
The dual zone idea is interesting. A Queen size would have had two controls, and would have only been a few inches wider (which would have meant I was cutting away less). Of course, the two controllers would have meant more space and bunched up cords…
But maybe not a bad idea for anyone who tries this after me. Someone should try it!
I love this idea! I do not have my Ekko as of yet but we will be ordering soon. A few things….
1. I will not be getting the batwing so will I have this problem without it?
2.we will be adding a rack for surfboards on the side of the rig, so should I ask for the batwing support for those racks? We have no idea how we are going to make these racks happen.
3. Why did you swap mattresses and what are you using?
Thanks so much
Erin
Good questions.
1. The batwing support is there whether or not you get the actual awning. So yes, this will affect your EKKO.
2. If you plan to mount a surfboard rack on the side, it’s easy enough to find where the support is (wait for condensation to form on the outside – you’ll see it). You should be able to use that support for your rack.
3. I replaced the mattress because I’m a stomach sleeper, and like a super-hard mattress. You can see all about it in this video.
We have one of those cold walls along the outside van wall of our G bed! We put a body pillow against that wall but now it’s like there’s 3 of us in that bed… LOL!
Yesterday at Walmart I bought a 12v heated car blanket… thinking about the best way to use it to warm up that wall!
We have a 12v blanket, but I decided against using it because its directions said not to fold it on itself. Hopefully yours works out for you!
Re: the mattress pad.
I’m pretty sure you’ve voided your warranty.
🙂
Perish the thought!!
We’ve been using mattress heating pads for over 30 years.
Electric blankets pale in comparison!
I first thought of an electric blanket for this, but decided it would get pulled away from the wall too much to be of any use here. The mattress pad is the bomb!
good solution, but if the problem source is thermal bridging, why not insulate in and out with 1/2 inch rigid foam and mylar blanket, ? could be an ugly solution, but you could probably make it a field install for when parked and stowable on the bed when in transit
That would probably work, but… The problem with that is that I’d never want to take the time to install and uninstall it every time we landed!
We’ve been using a mattress pad heater for over 40 years, first at home but now also in the RV. Won’t leave home without it.
I’ve got a good shop but I also envy yours.
A good shop is a very good thing to have!
This is the first time I’ve ever used a heated mattress pad – so I feel like I’ve been missing out!
Would a loop of heat tape (the kind used to keep pipes from freezing) fastened to the wall have been a simple solution? Some have an internal thermostats and some can be controlled by your own switch or timer, etc.
I thought of that, but couldn’t find any I thought would be safe enough.
Think about it, it’s going to be surrounded by combustible blankets and mattresses, tucked away in the wall, potentially contacting your skin, and run for hours at a time when nobody is awake to keep an eye on it.
There may be something out there, but I didn’t find it.
(And besides – heat tape would have been kind of ugly…)
That was amazing (your shop)!
I just wanna come visit your garage.
I think you’re my new hero!!
Lol… seriously, love the shop!
P.S. got one of those 12V trucker heated sheets for the jeep’s roof top tent. Doesn’t do a thing for condensation but keeps us alive when below freezing!! 🙂
It’s taken me years to get that shop… and it’s still not done!
YES! I believe it. Good work. You can be proud. It has inspired me.
cheers
Thanks for the power draw info – definitely good to know regardless of how the pad is needed.
Most importantly, does Mel like it?
Mel loves it… AGGRESSIVELY!
Power-head-butts at 2:00 am. That kind of thing. lol!
Sounds like EKKO should eliminate the batwing awning option and remove that reinforcement from the next model year. Nobody really needs that awning.
Did it cause issues in the summer?
No issues during the summer.
Some people seem to like the batwing. (I can’t imagine why, but whatever.)
What would be best would be to remove the batwing support if you decline the batwing. That way, those who don’t want the batwing aren’t penalized by it.